


In this article we will cover the installation of the PFSense server in your network, so you can enjoy all the features that this platform has, ranging from Firewall and NATs, to Proxy and VPN, all in a lightweight and simple to configure server.
Download Installer
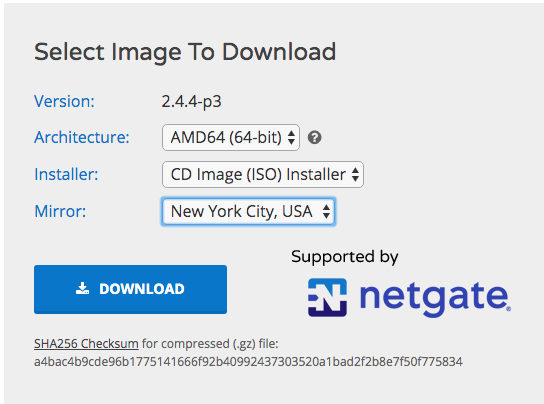
The first step is to go to https://www.pfsense.org/download/ and select the architecture and mirror from which you’ll download the files. For our purposes, we’ll use the AMD64 architecture and the “CD Image (ISO)” installer to set it up as a standard VM. The mirror should be the one closest to your current location; if you’re in Brazil, you can use the one in New York.
Machine Settings
Let’s move on to creating the VM. At this point, the machine should be sized according to its architecture and the tasks it will perform. The more firewall/NAT and proxy rules you have, the more resources you use, and the more machines PFsense will serve, the greater the resource requirements will be—but in any case, it shouldn’t be anything too resource-intensive.
For our installation, I’ll use a VM with 1 GB of RAM, 8 GB of disk space, and one processor core.
It is important that the machine always has two network interfaces, one WAN and one LAN. The LAN interface, as the name implies, will connect to the internal network, communicating with your structure. The WAN interface, on the other hand, will communicate with the external network.
This way, PFSense will serve as a Gateway for the internal structure, it can act as DNS, Proxy, Firewall, DHCP Server, and all the rest that it offers.
Installation
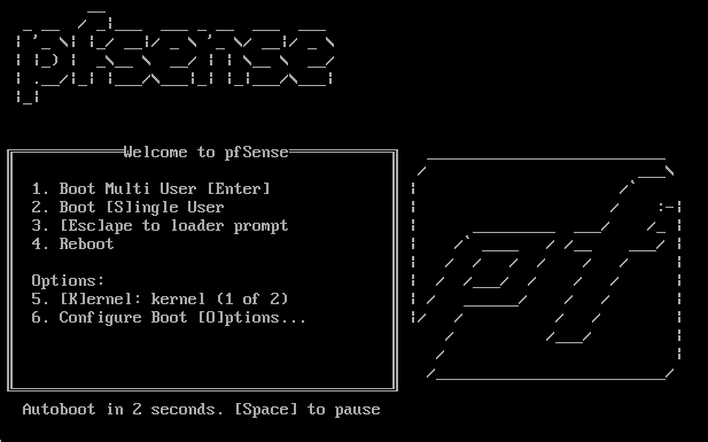
After the VM is prepared, let’s start the PFSense Installation. To get started, simply make your machine boot using the ISO we downloaded. In case of a physical machine, just burn the ISO and insert it in the CD Drive, so we can boot it from the Installer.
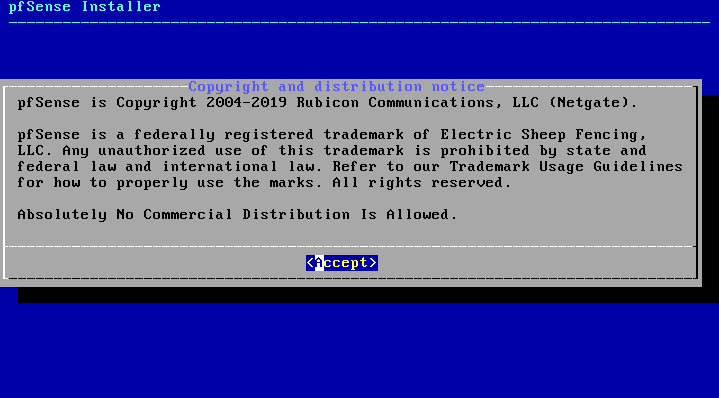
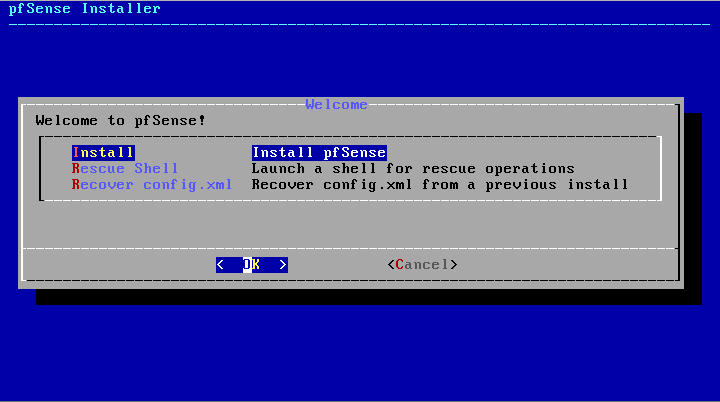
On the first screen, we can agree to the terms of Use, then select the ‘Install’ option.
After this, a screen will appear for selecting the current keyboard format. Simply choose the option ‘Brazilian’ if your keyboard is ABNT-2, or ‘Continue’ if you have an American/International keyboard, which are the most common formats. If you use another keyboard structure, just choose the option for your current format.
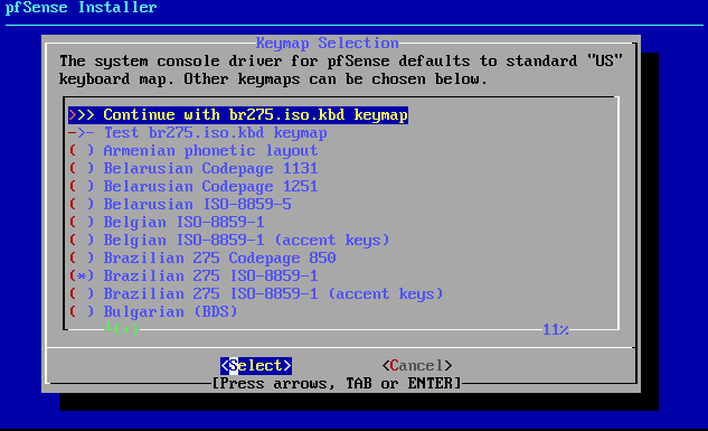
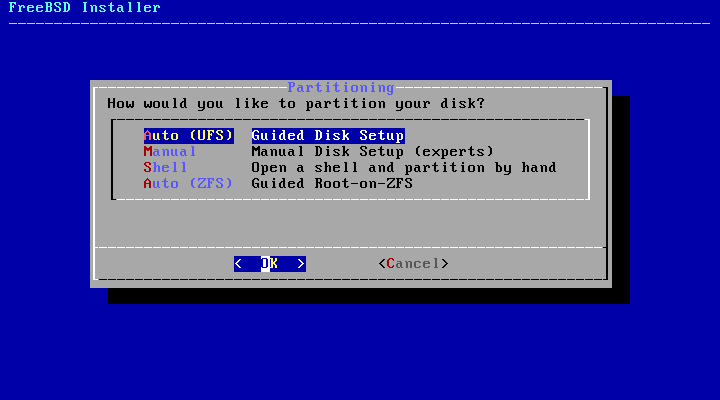
Choosing the key mapping, we can do Disk Partitioning, in which case we can choose the ‘Auto (UFS)’ option, and the installer will automatically partition and install the System with the default settings.
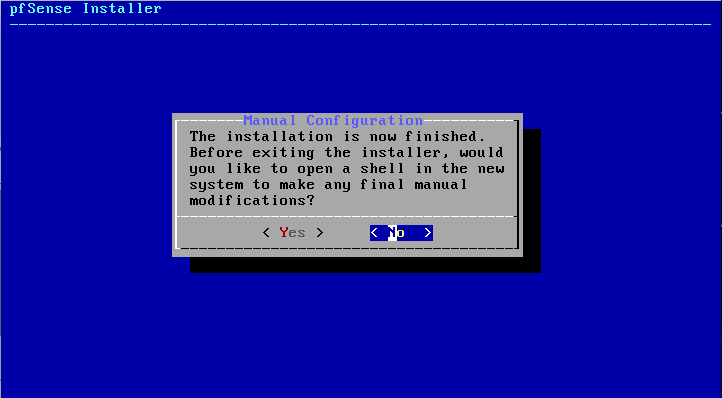
Once the installation is complete, we can either bring up the Shell to edit some manual one-off settings, or reboot the machine to get PfSense up and running correctly. I will just reboot the machine and configure after it is UP correctly. To do this, simply click ‘No’, and then ‘Reboot’. Remembering to remove the ISO after quitting the installer.
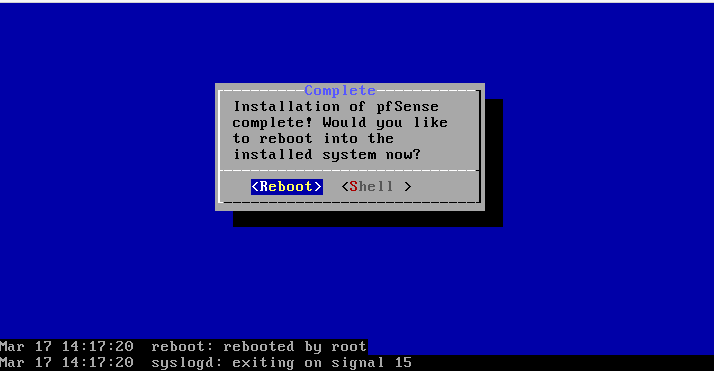
If you’ve done everything correctly, you’ll see a screen similar to this one:
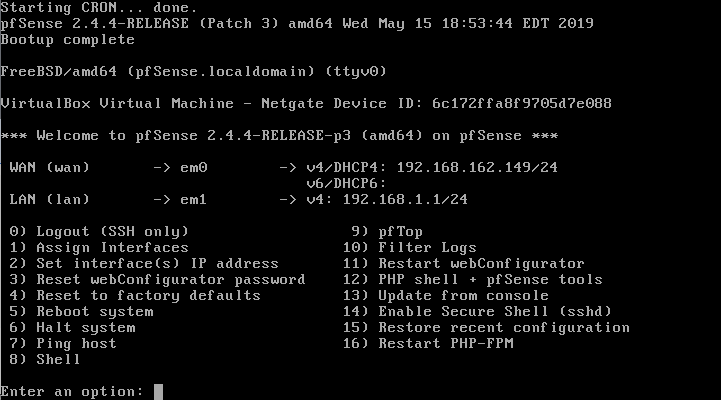
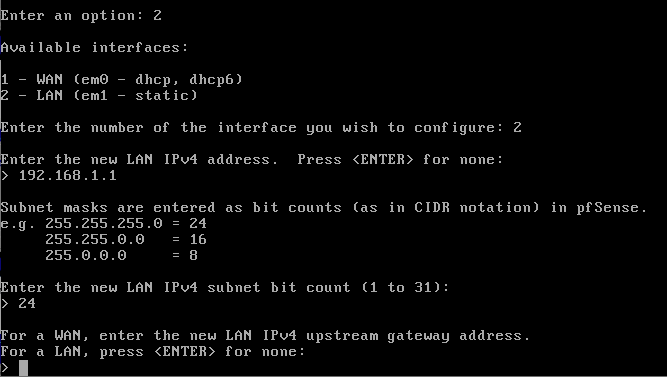
If you want to change or assign the machine’s access IP, you can select the “2) Set interface(s) IP address” option in the CLI, then define which interface you will change.
When entering the IP address, set the subnet mask (1 to 31), and finally, set the server’s gateway. If it is a LAN interface, simply press ‘Enter,’ since the gateway will only be used for the WAN.
PFSense will ‘ask’ if you would like to use IPv6 on it, and set up a DHCP Server through it, so that other machines can automatically get IP from PFSense on the network.
WEB Configuration
With the installation part finished, we can move on to the basic settings in the WEB screen, called the WebGUI.
If you can’t access the WEB part, but have pinged the machine, just select the “8) Shell” option and then run the command “easyrule pass wan tcp x.x.x.x y.y.y.y 443” (replacing x.x.x.x with your IP address and y.y.y.y with the subnet mask) to allow the specified source IP address to access the web interface. If the previous command does not work, you can run “pfSsh.php playback enableallowallwan” command, which will allow ALL connections on the WAN port.
It is important to access and configure the firewall blocking access right away, to avoid possible invasions on the server!
Once you have access to the WEB screen, simply log in to PfSense with the default access, being user “admin” and password “pfsense”.
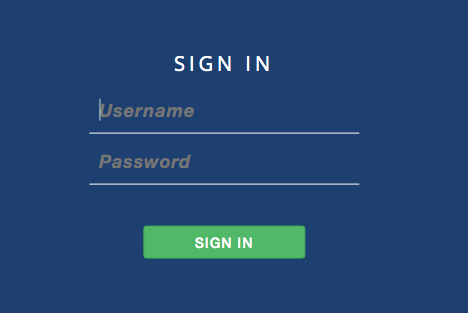
As soon as you log in for the first time, a setup wizard will help you configure the server.
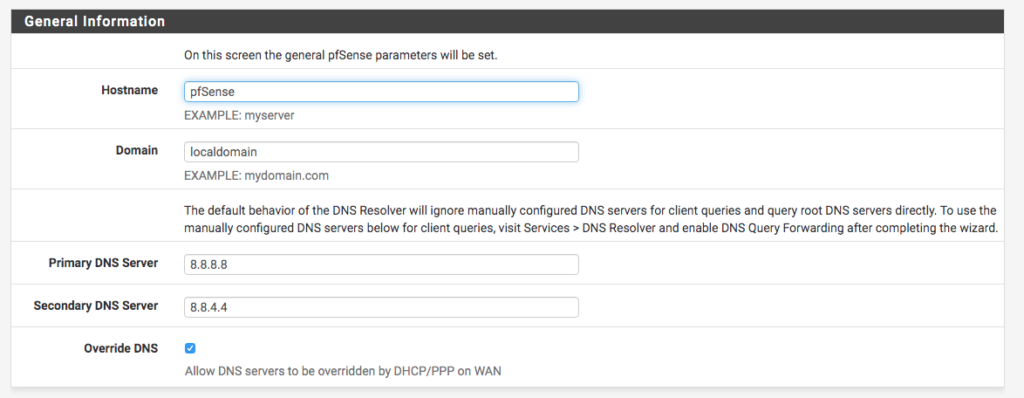
First, just give <Next> to agree with the information. When you get to the General Configuration screen, simply fill in the relevant data for your server (Hostname, Domain, DNS Servers).
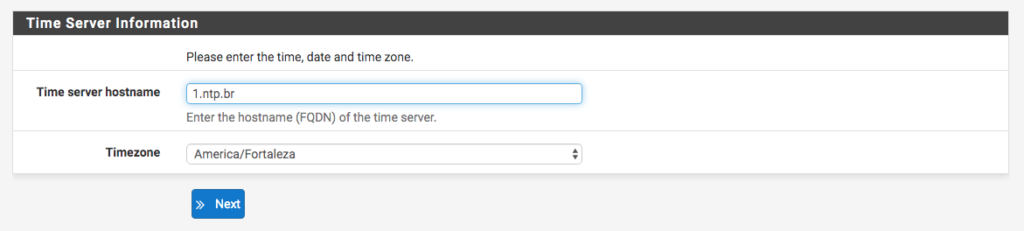
Then select the Time and Timezone NTP server. It is important that the time is correct, because PFSense works with some Scheduling options, as well as keeping the correct time makes it easier to view logs and analyze data with Timestamp.
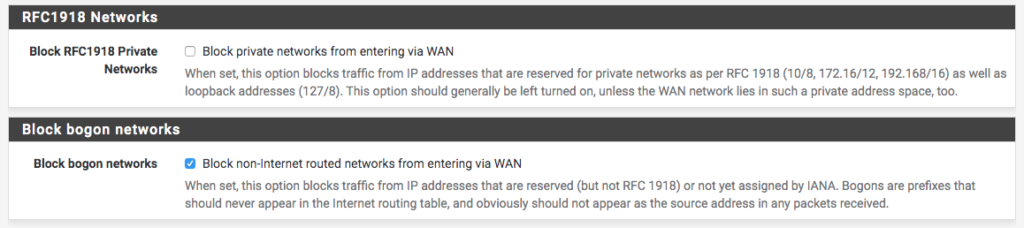
In step 4/9 we have the network settings.
Again, just fill in according to your current scenario. At the end of this step you have two very important options:
- Block RFC 1918 Private Networks: This option will block access from RFC 1918 private IP addresses on the WAN interface. As a result, only the LAN will be accessible to private IP addresses.
- Block bogon networks: This option will block bogon traffic on the WAN interface. Bogons, in short, are reserved IP addresses that do not fall under RFC 1918, as well as IP addresses not allocated by regulatory bodies.
Regardless of these options, it is always a good idea to filter the WAN interface to block IP addresses you do not recognize, in order to prevent attacks and intrusions into your infrastructure.
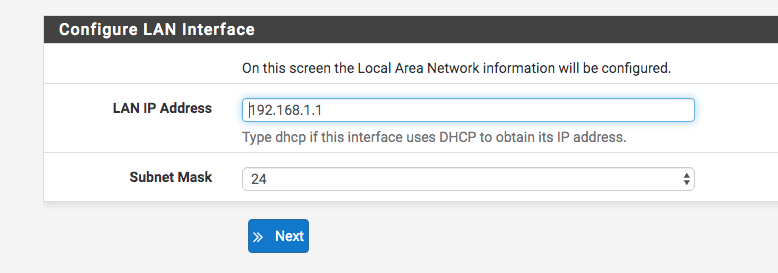
In step 5/9 we have the LAN interface configuration, in case you want to make any changes. By default, this interface acts as ‘Gateway’.
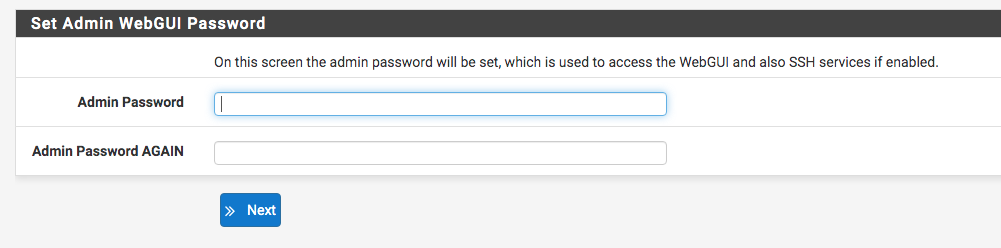
For step 6 of 9, we’ll change the password for the ‘admin’ user. We strongly recommend changing it, as the default password creates a vulnerability for the server and your entire infrastructure.
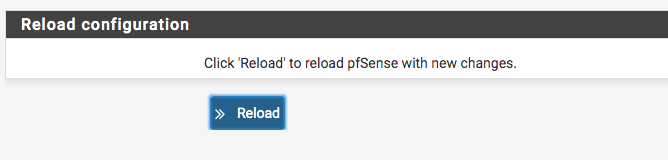
Next, the ‘Wizard’ will apply the changes and complete the process. Simply click ‘Finish’.
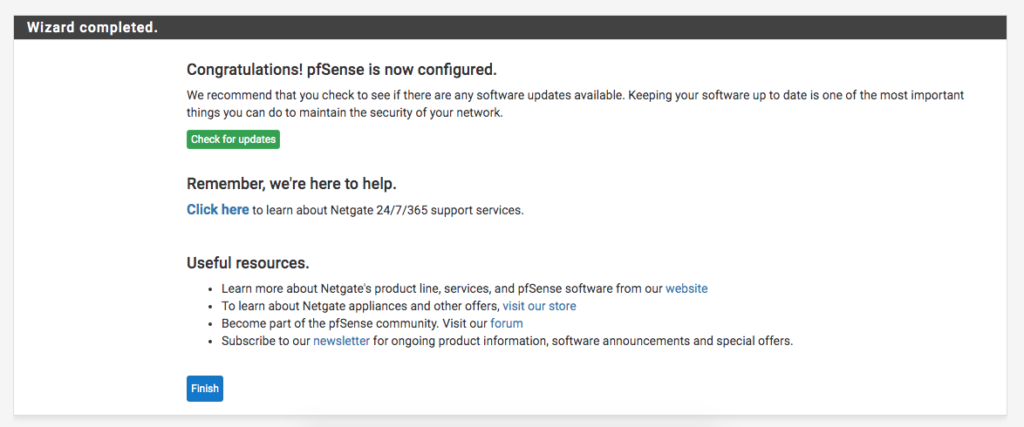
At the end of the Wizard, we have our PFSense ready to use!
In upcoming posts. We will teach you how to create a VPN using PFSense, so you can access your Internal Network from your home.
Thank you and see you in the next posts.
Adriano Elias de Souza
IT Consultant
Made4it

