Hello everything is fine? My name is Kevin Wauters, I’m from the Made4it team of consultants and today I’m going to show you how to configure CGNAT using the script created by the Made4it team.
Script creates deterministic type CGNAT, to better understand and have more information about CGNAT types you can read our previous article
To create the script, first we need to access the page https://www.made4it.com.br/cgnat/, when accessing we have the page:
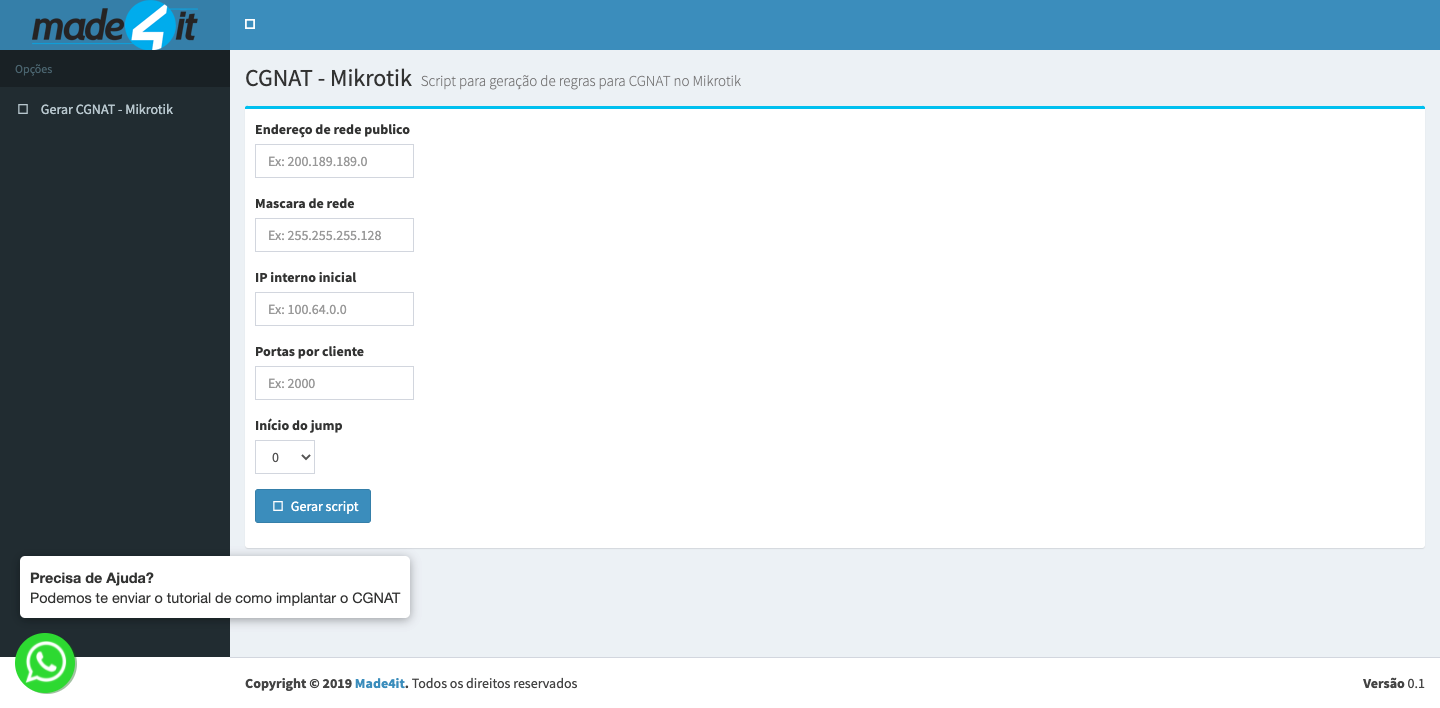
On this page we have some fields to be filled, namely:
- Public network address – Public IP address, which will be used to NAT private IPs. For an example, let’s use 200.0.0.0
- Netmask – Full netmask of the public IP. For an example, let’s use 255.255.255.252.
- Initial internal IP – Private IP used by clients. For an example, we will use 100.64.0.0
- Ports per client – Number of public IP ports that each private IP can use. For an example, let’s use the value of 4000.
- Start of Jump – Number of the jump rule, if it is a new CGNAT, keep it at 0, change it only in cases of adding more rules in a CGNAT in production. For an example, we will set it up as a new
Filling in the information we will have the page:
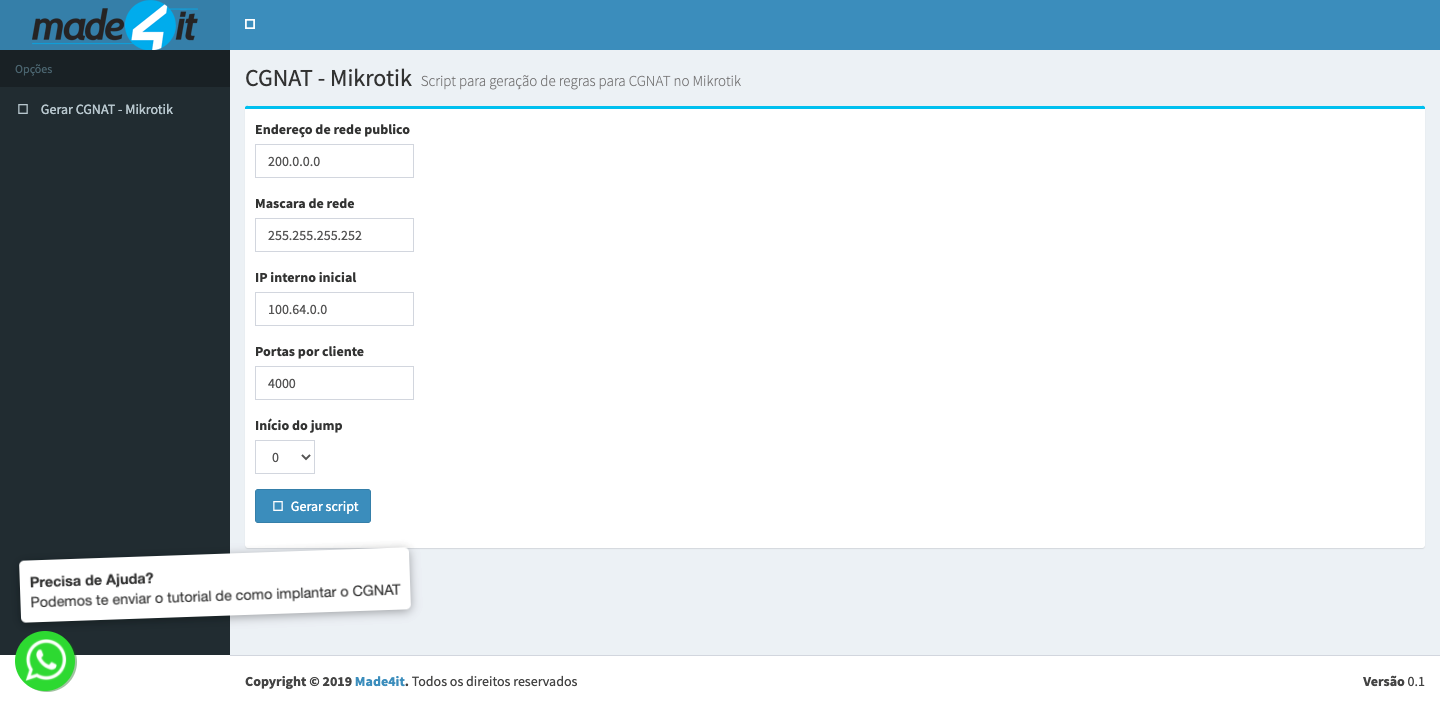
Now just click on the button to generate the CGNAT script and we will have
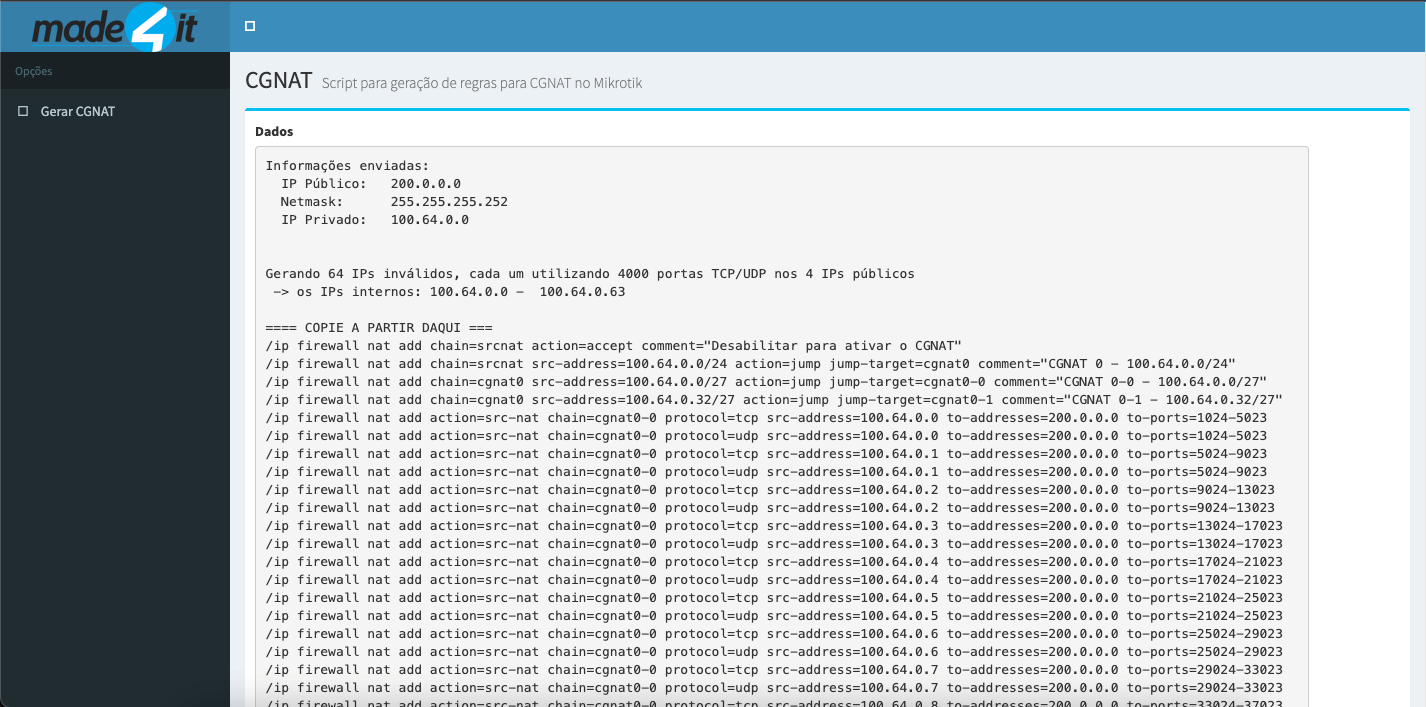
On this page we will have information that we put in to create CGNAT and also information about the rules created by the script.
Now we need to transfer this script to a file by copying the rules below the part indicated with “==== COPY FROM HERE ====” until the end of the page. When pasting in the file, just save it as a .rsc file, for example cgnat.rsc.
Next, we need to UPLOAD this file on the Mikrotik, which will be the equipment used to perform the NAT. To do this, just go to FILES as soon as you log in via WINBOX.
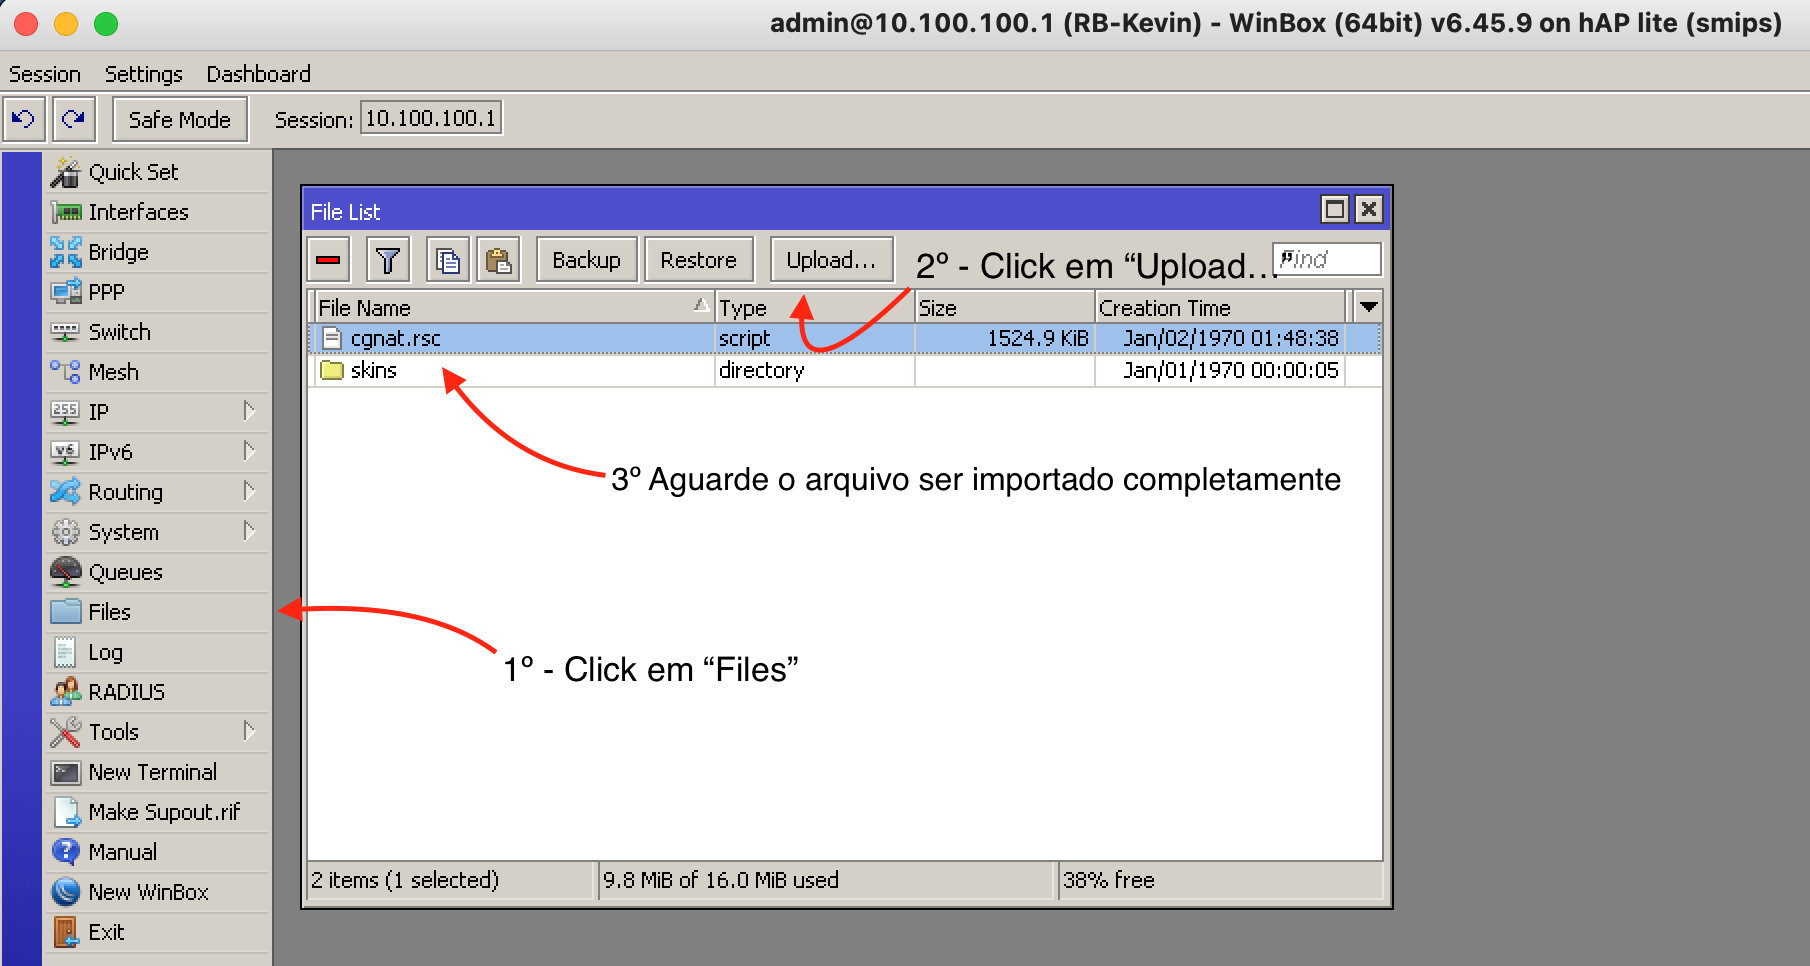
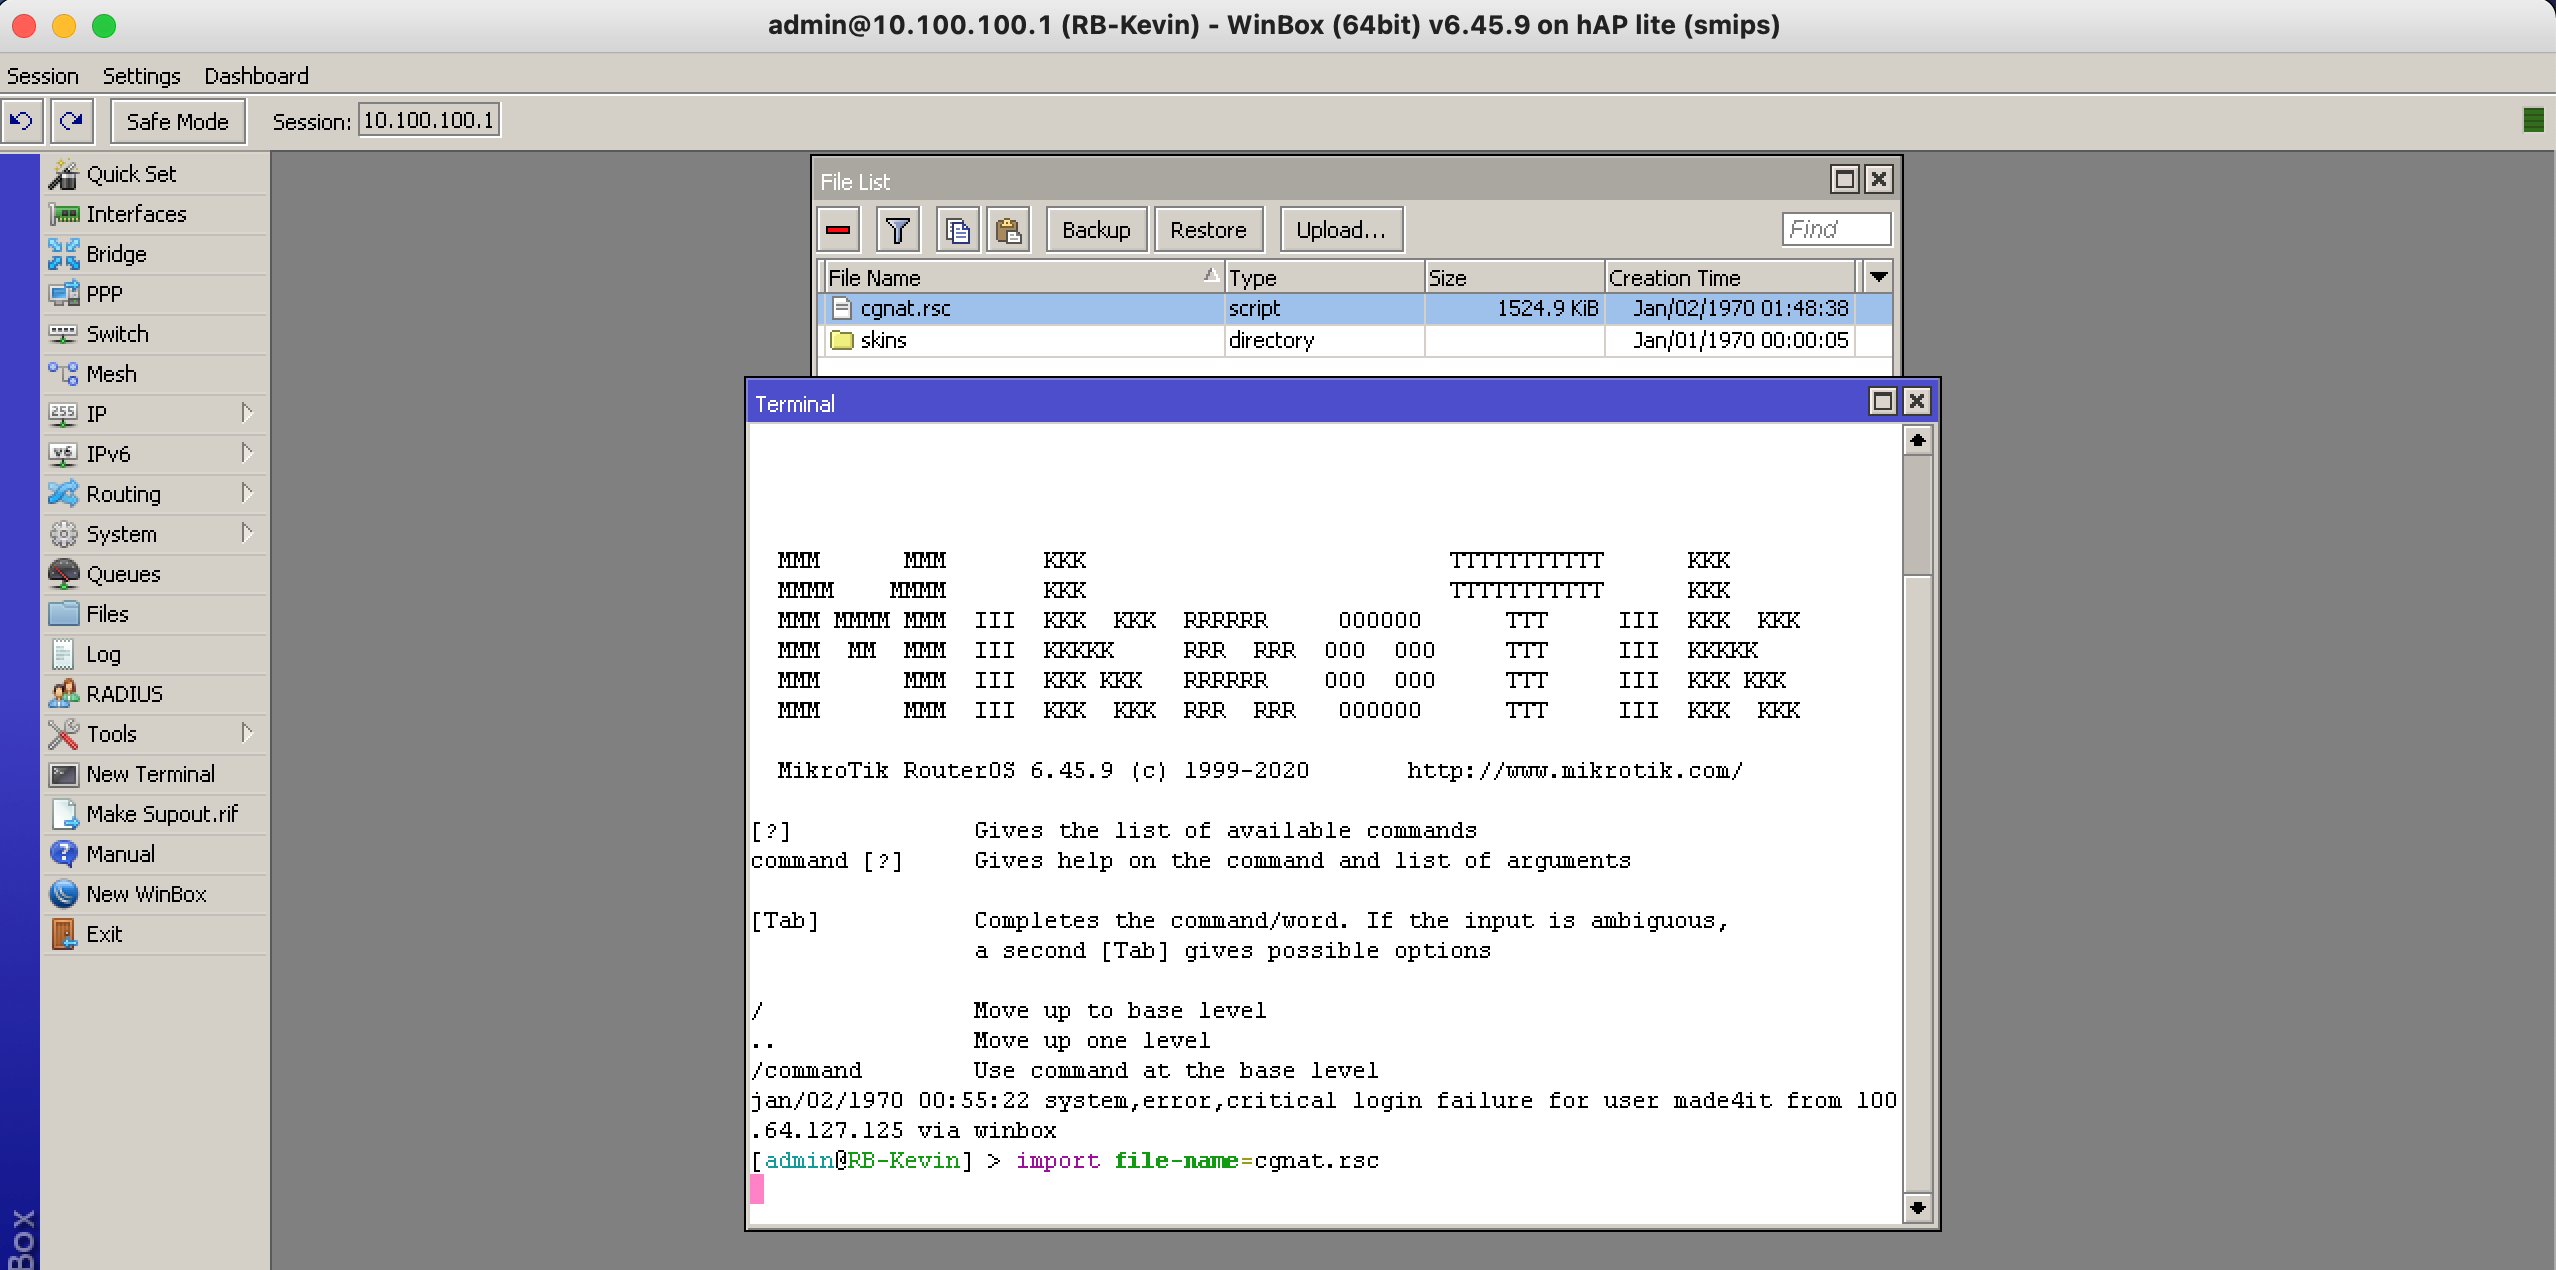
With the file in the Mikrotik, we can already read it, so that the mikrotik creates the rules. Just open the terminal and type the command “import file-name=cgnat.rsc” (change where cgnat.rsc is to the name of the file you placed) and press enter for Mikrotik to create the rules.
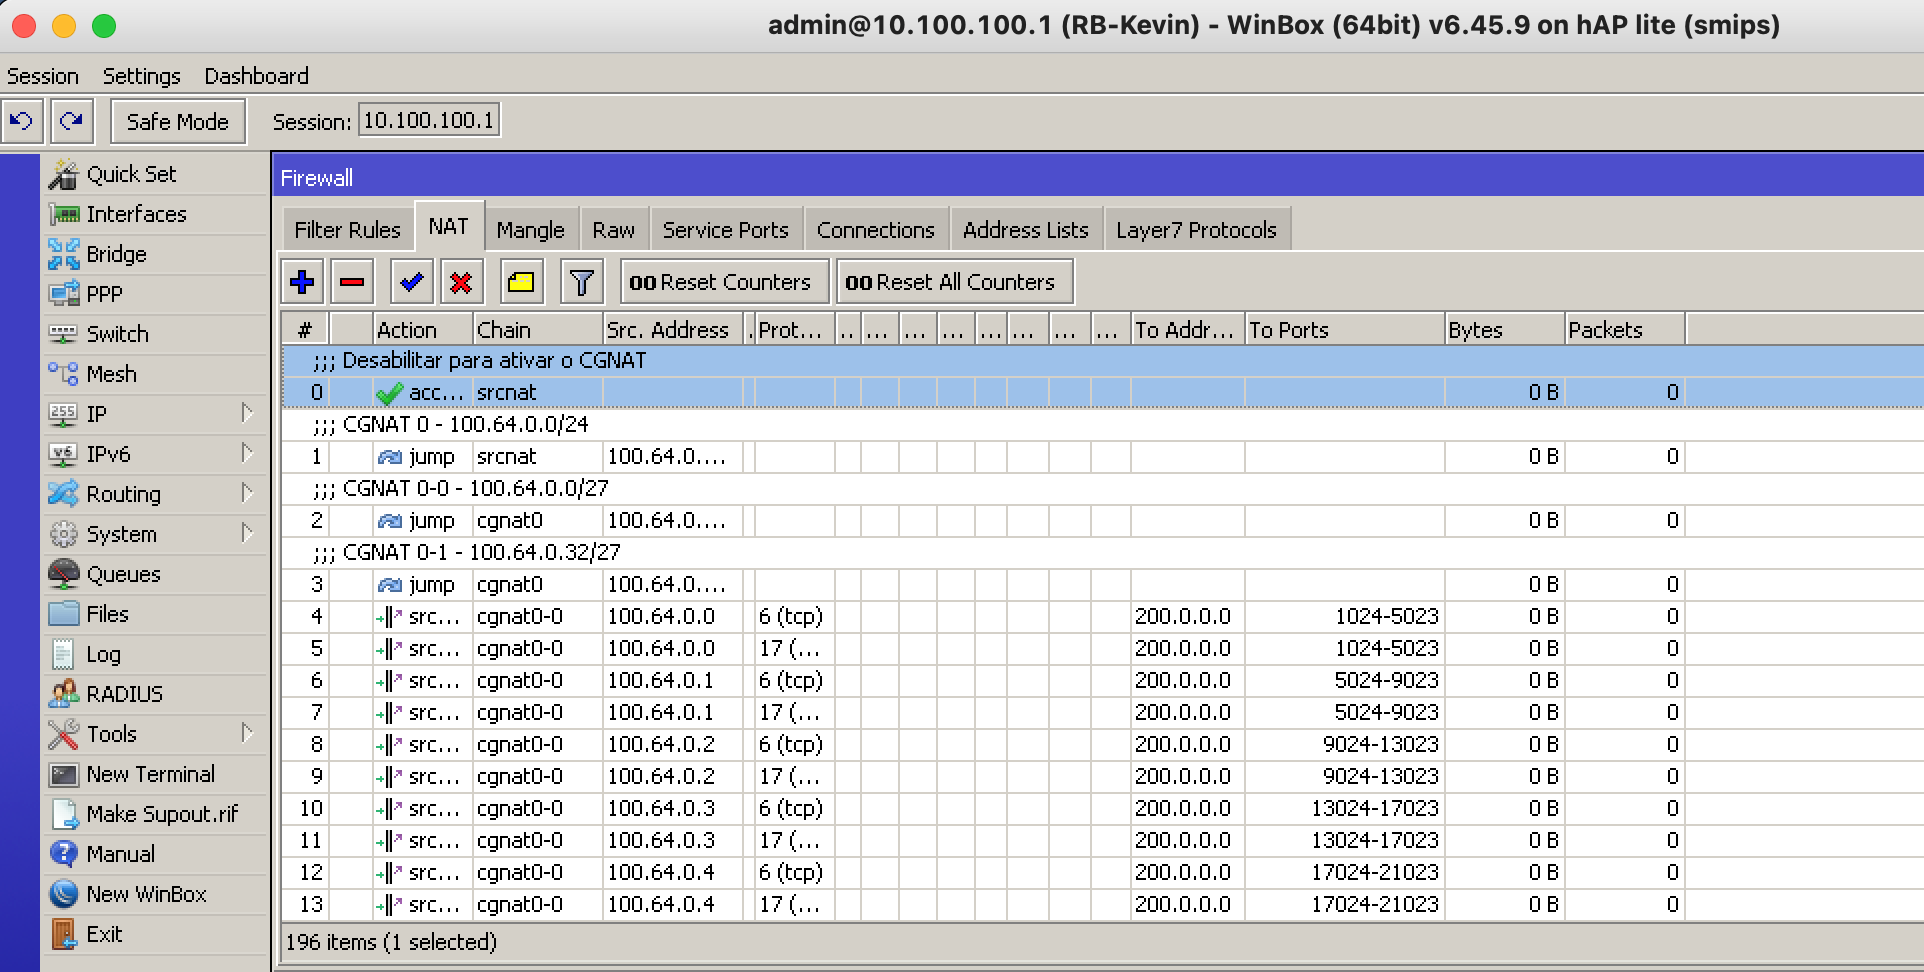
It will look as if it were loading, wait for the message “Script file loaded and executed successfully”, this indicates that the script was completely read and the rules were created successfully. Opening in IP, Firewall, NAT we will have the rules.
After importing the rules and completing the other CGNAT adjustments, such as adjusting the time of stabilized connections, creating Blackhole routes for the public blocks used in this CGNAT to prevent loops and adjusting the routing, so that the CGNAT box has the necessary routes and the network knows the blocks that are in the CGNAT, then just redirect clients with 100.64.0.0 to 100.64.0.63 to that CGNAT and disable rule number 0, this will make them start browsing.
And so, completing these steps we will have a functional CGNAT configured.
If you prefer, you can also watch this step-by-step video on our youtube channel.
If you need help creating your CGNAT, you can contact our team via email contato@made4it.com.br or by phone (43) 3047-8340 or (43) 9 8485-4013.